How to install a new physical server#
Intended audience
sysadm members
Note
In the following documentation, we use a variable HOSTNAME to templatize the machine name to install. It’s its short name. As this page is based on the cassandra07 server installation, the HOSTNAME is set with it. Replace the hostname and other configurations (e.g IP address, …) according to the installation need.
Build the ISO image#
Required packages
sudo apt build-dep ipxe
sudo apt install whois j2cli isolinux
Clone the SWH ipxe
repository (in the branch swh). Then place yourself at the top-level
directory of the checkout.
git clone git@gitlab.softwareheritage.org:swh/infra/ipxe.git
Create the variables template in ipxe/configs (you can find the
IPADDRESS in the inventory).
ipxe/configs/cassandra07.yaml
---
VLAN_ID: 440
IPADDRESS: 192.168.100.187
NETMASK: 255.255.255.0
GATEWAY: 192.168.100.1
NAMESERVER: 192.168.100.29
HOSTNAME: cassandra07
DOMAINNAME: internal.softwareheritage.org
DEPLOYMENT: production
SUBNET: sesi_rocquencourt
BOOT_DISK_ID_PATTERN: "*_Boot_Controller_*"
When the server you install has no dedicated boot disk, replace the BOOT_DISK_ID_PATTERN variable with these ones [1]:
PARTMAN_METHOD: raid
RAID_DISKS:
  - /dev/nvme0n1
  - /dev/nvme1n1
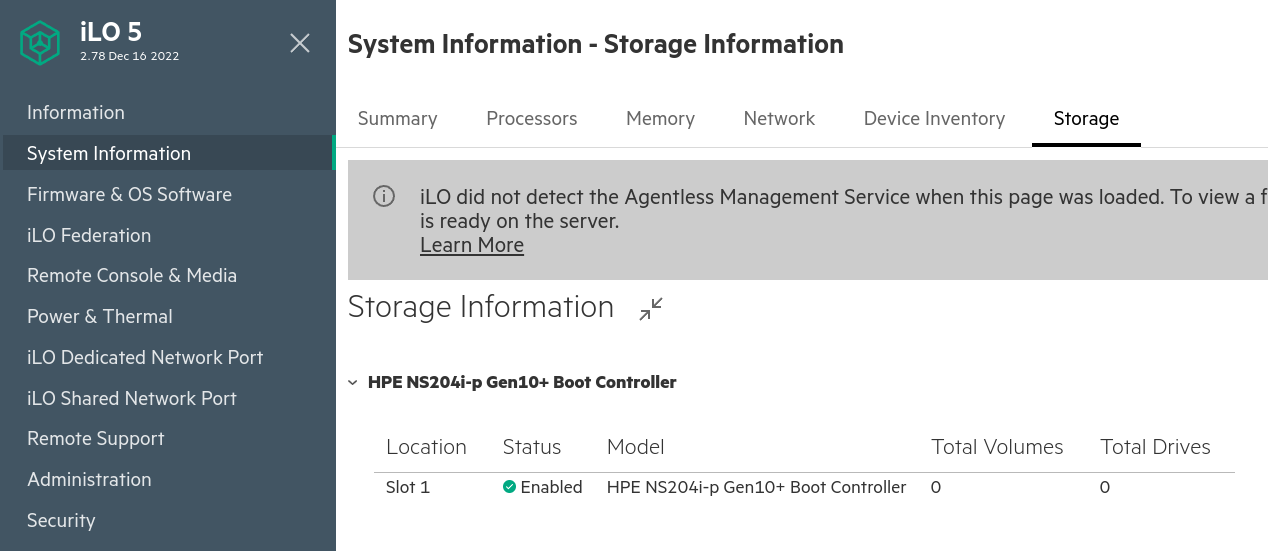
Check the boot controller
You can check if the server has a boot controller from the iLO web interface.

Then build the ISO image, the debian installer file and the finish_install
script with the script build_iso.sh.
Note: Ensure the machine is able to boot from efi.
HOSTNAME=cassandra07
./configs/build_iso.sh $HOSTNAME
Copy only the necessary files on preseed.internal.softwareheritage.org which is hosted on pergamon.
rsync -av --include="*/" --include="${HOSTNAME}.sh" --include="${HOSTNAME}.txt" \
--exclude="*" configs/preseeding/ \
pergamon.internal.softwareheritage.org:/srv/softwareheritage/preseeding/
pergamon DocumentRoot tree like format
/srv/softwareheritage/preseeding
├── cassandra07.txt
├── cassandra08.txt
├── finish_install
│   ├── cassandra07.sh
│   ├── cassandra08.sh
│   └── finish_install.sh.j2
└── preseed.txt.j2
Launch the ISO image installation#
iLO access
See the iDRAC section to configure the iLO access.
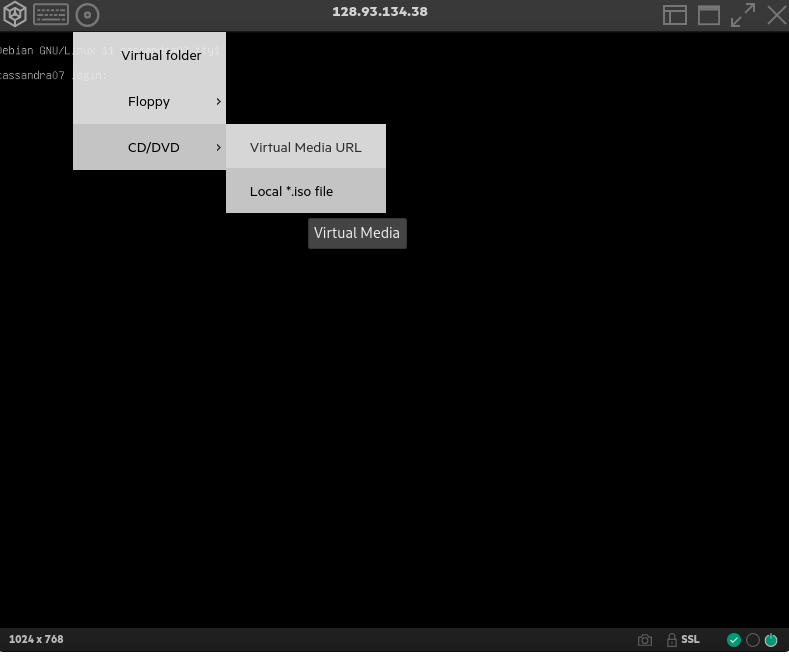
Load the ISO image from the HTML5 console.

Then start the server and let the installation complete.
IPMI serial console access#
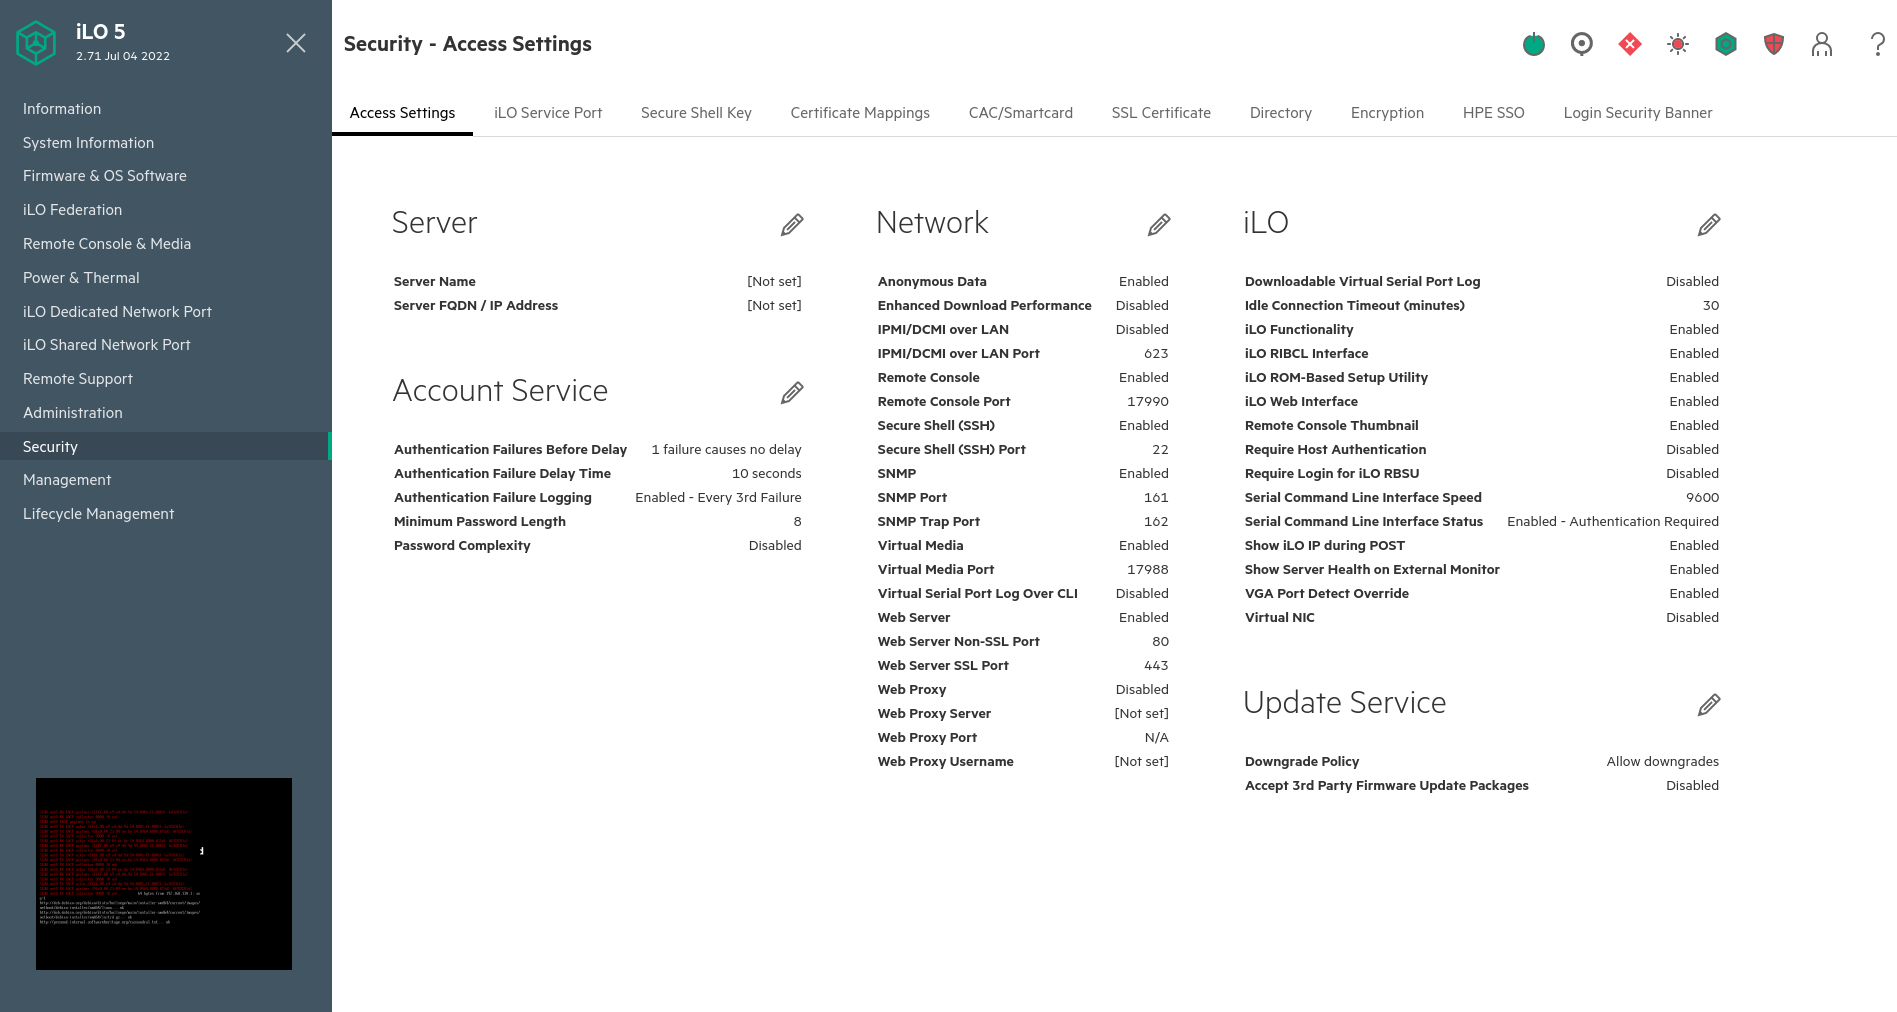
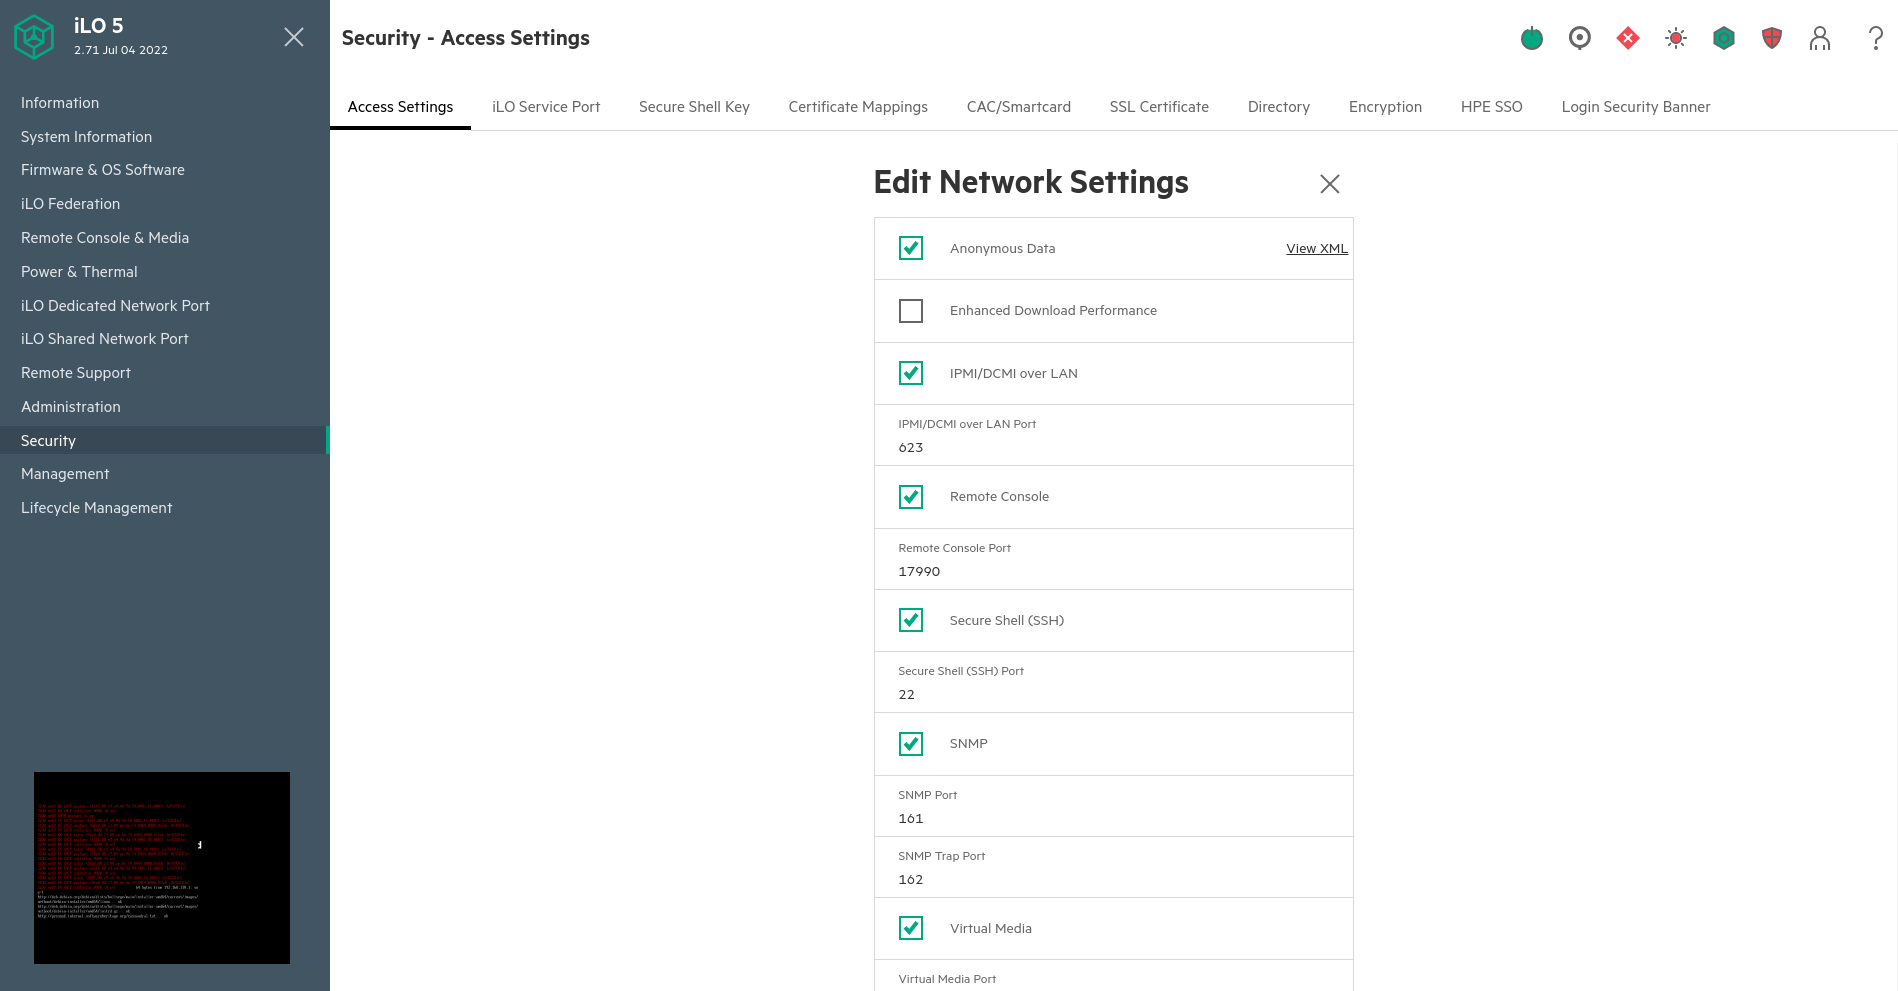
You need to enable iLO Service Port to access the IPMI console. Go to
Security > column Network > click on the “pencil” (edit) icon.


Then you can follow the installation from a serial console.
IPADDRESS=$(pass show infra/$HOSTNAME/idrac | awk -F/ '/^Url/{print $NF}')
LOGIN=$(pass show infra/$HOSTNAME/idrac | awk '/^User/{print $2}')
PASSWORD=$(pass show infra/$HOSTNAME/idrac | head -1)

ipmitool -I lanplus -H "$IPADDRESS" -U "$LOGIN" -P "$PASSWORD" sol activate
Note that you might have to adapt the HOSTNAME entry if the name does not match the short name (e.g. sometimes, entry may be referenced with their fqdn instead).
To exit the console session, use ~..
Post installation#
The temporary root password is generated and stored in ipxe repository under the
gitignored file configs/passwords.
Reference it in the credentials repository under infra/$HOSTNAME/root.
awk -F: "/$HOSTNAME/ "'{print $2}' configs/passwords
xxxxx-xxxxxx-xxxxxxxx-xxxxxx
Prepare the node if need be (e.g. zfs preparation) and finally run the Puppet agent.
sudo apt install tmux puppet gnupg
sudo puppet agent --vardir /var/lib/puppet \
  --server pergamon.internal.softwareheritage.org -t